In terms of 'must do mods' on the DRZ400, the list goes:
- case savers
- bash plate
- barkbusters
and purely for aesthetics:
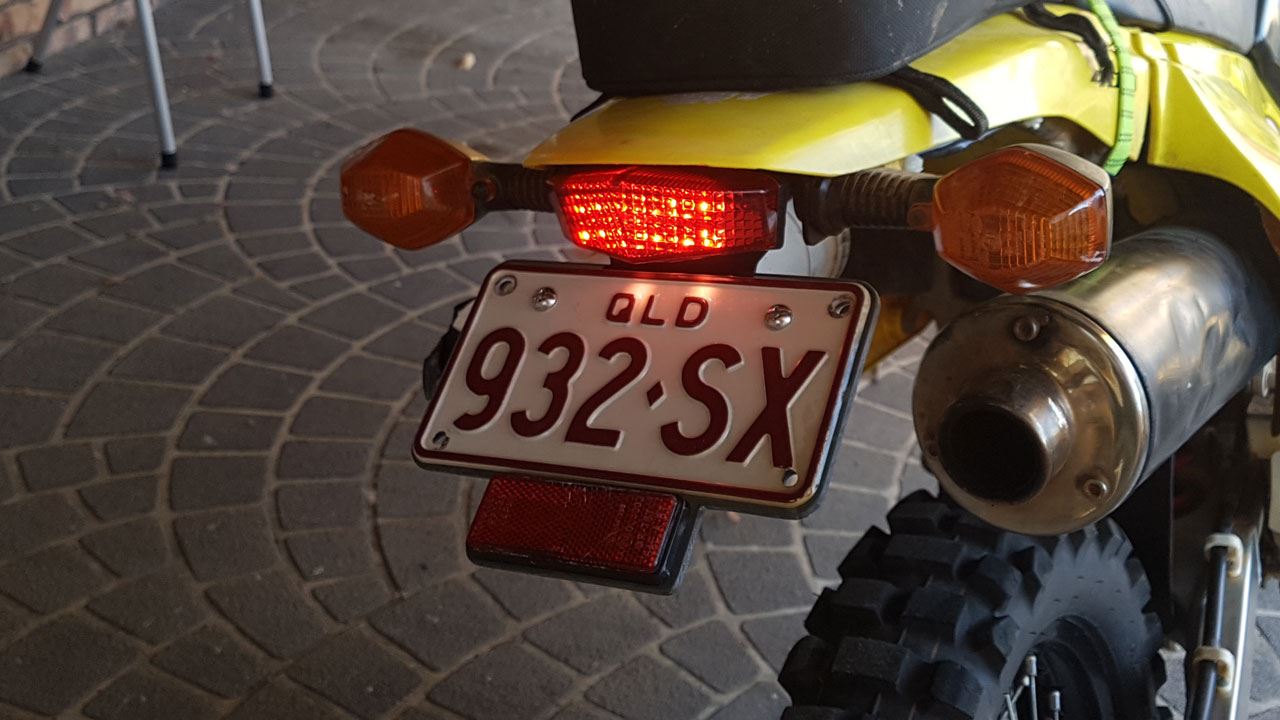
- tail tidy
Having done the first three items when I picked up the bike a year ago I've been putting off doing the tail tidy as there always seemed to be something else to spend money on. But having put up with everyone I ride with telling me I 'really have to do something about the arse end of the bike...' for a long time I decided to get to it and replace it.
The first challenge was finding a suitable unit. The ones offered by B&B and R&G appear top notch in terms of quality but pretty expensive for what they are. Asking around on Facebook quickly revealed that the Savage tail tidies listed on eBay for around $40 are more that up to the task at a fraction of the price. nice.
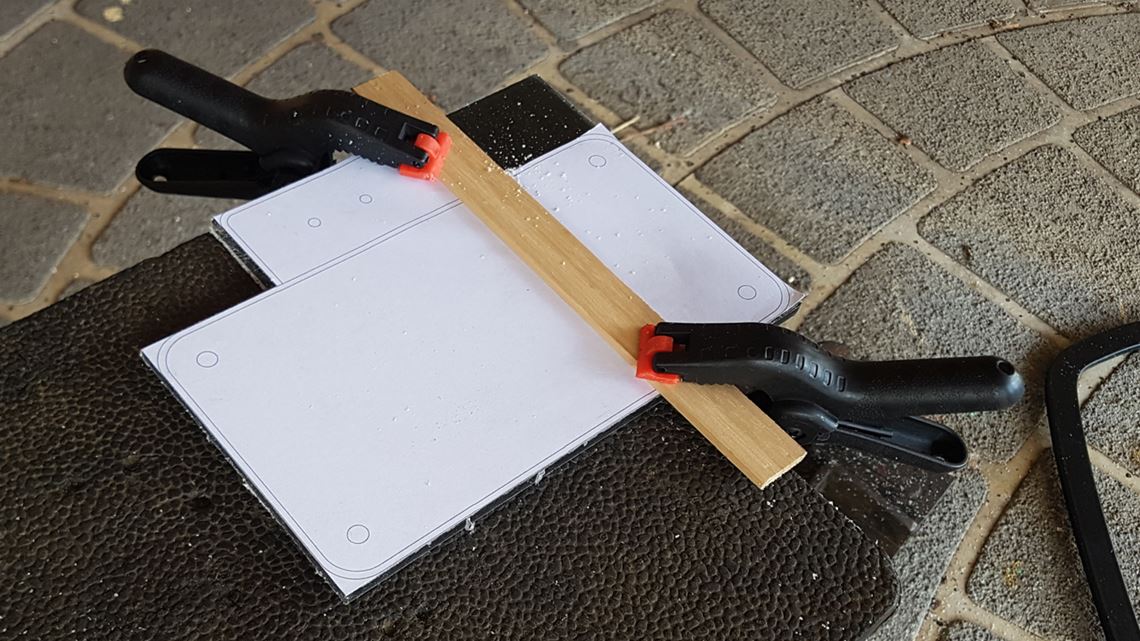
So I ordered one up from eBay along with an A4 piece of 4.5mm polycarbonate. One of the fellas who'd chimed in on the Facebook post had suggested making a backing plate for the licence plate as in his words 'it stops the number plate becoming a meat slicer' and also reduces the risk of the number plate cracking (which seems to be a common problem when the bike gets dropped).
While I was waiting for the unit to turn up in the post I got to designing the backing plate template and figuring out all the other bits I'd need to make the project run smoothly. One thing that came up in my research was that the police are pretty hot on roadworthy dual sport motorcycles having a reflector on the back of the bike:
All motorcycles must have at least 1 rear-facing red reflector which is visible from either side of the rear of the motorcycle.
if they pull you over cos they're in a bad mood, sure as eggs are eggs you'll pick up a fine. Interestingly, when I took the tail tidy into the local police station the cop on the desk said he wouldn't pull me up on it! But then I found out that traffic cops are a different department to bobbies in squad cars and decided that it wasn't worth taking the risk... The good news is that the factory fender ships with great bolt on reflector so my template incorporated the original to keep everything nice and legal.
And to doubly make sure the cops would be happy I also picked up these round screw in reflectors that I'd use in place of bolts - safety first and all that.
The template can be downloaded here: QLD Motorcycle Number Plate Template PDF. Please note: it seems that each state has a slightly different set of dimensions!
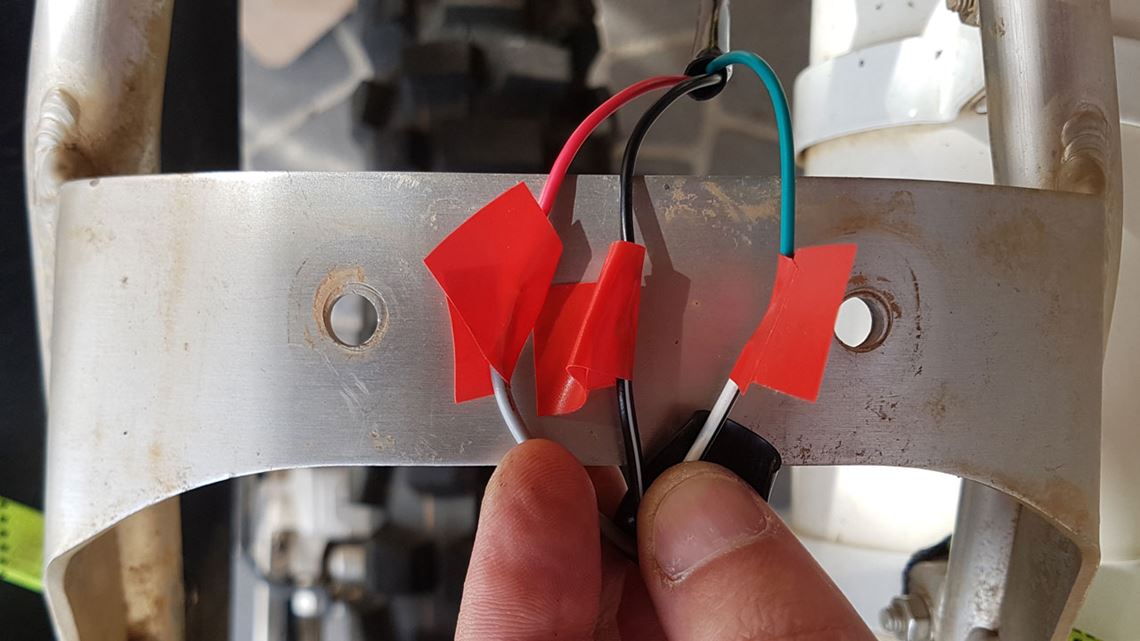
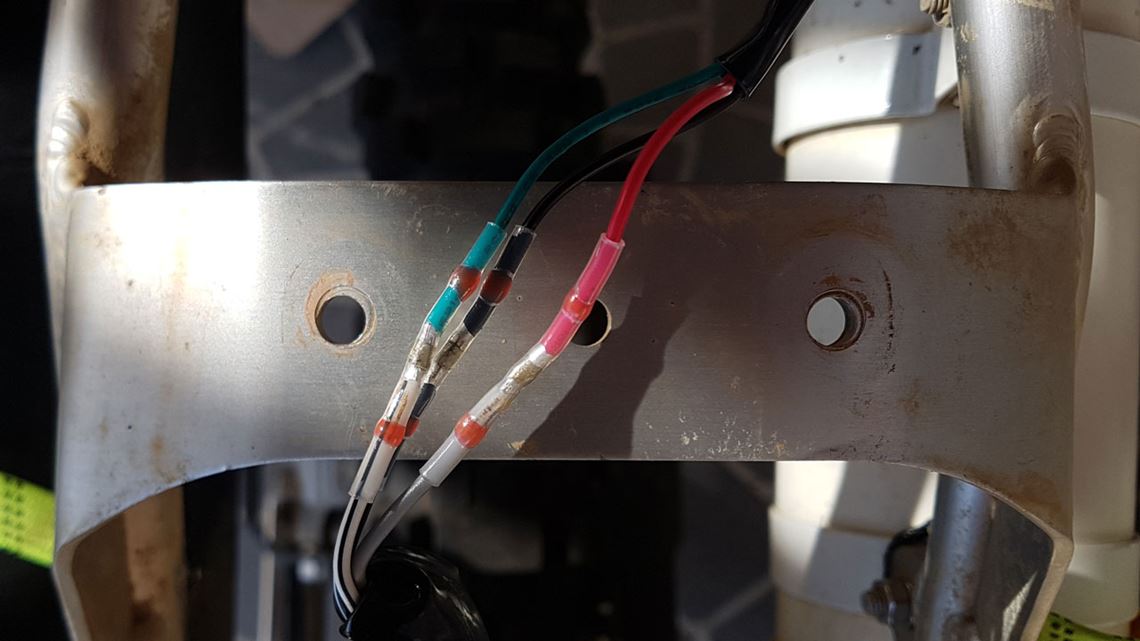
Which left the last challenge being how to wire in the back brake. I had no joy finding a 3 wire connector that matched the one on the bike and after a lot of asking around the general consensus was to cut the current wires close to the current brake light and then splice/solder the wire to the ones on the new unit. After some hunting around I found these excellent 'solder splice heatshrink tubes' at JayCar. What a genius idea: the middle of the heatshrink tube has a small band of solder so all you do is slide the tubing onto one of the wires, merge the wire strands as you normally would when joining wires with solder, slide the tubing back over both wires aligning the solder section with the middle of the joined wires and heat with a butane or electric coil lighter (or a heat gun if you have one, long and short being 'heat' not 'flame' as you don't want to burn anything). The heat melts the solder giving a great join quality and meanwhile the shrinktube contracts around the wire giving a waterproof seal. Wrap in electrical tape and it's good to go.
Once the unit arrived the first thing I discovered is that the slots don't line up with the holes on an Australian number plate - which isn't a big deal but if i was going to fix the plate to my polycarbonate backing plate I was going to have to perform some surgery. After a few experiments I decided to cut the ends off either side of the tail tidy and drill new holes in the plate to mount it.
I checked with the legality of this and found that:
Drilling holes in a number plate is only permitted:
- to enable it to be attached to a vehicle
- if the holes do not interfere with the appearance of any characters on the plate
- if plates are not altered in any way so as to damage or deface the plate.
https://www.qld.gov.au/transport/registration/numberplate/replace-change
The next challenge was figuring out which wires joined to which. The wire colours on the new unit don't match so it was a case of trial and error to figure it out: twist the wires together, turn the bike on, pull the brake lever and check to see if the light gets brighter - it turned out the combination was:
- grey to red
- black to black
- white to green
With the wires joined, the number plate and reflector fixed onto the backing plate and the indicators added it was a simple case of removing the old unit and bolting the new one in place using the original screws. The cables were routed around the subframe, the fender went back on and it was job done.
All in, it was probably $65 including bolts etc from Bunnings - we'll worth it as I think you'll agree, it looks far better than the original!